Making of - The Artificer
September 15th, 2012 Loading Comments...Hello everyone! It’s been a while. Been busy, but since I promised to make a blog post about this, here I go. This post finally marks the start of something I’ve wanted to share for a long time, and that’s little insights, preview and details of my artwork. I’ve been getting great feedback when I said I was going to write a post about the process of The Artificer on my deviantart page, so this is exactly what this is. (Be gentle). This is not a “How To”, but rather an insight on the process of this image. It actually started only as an exercise, but later developed in an image that spoke enough by itself. Back in June, I spent a lot of time organizing my little studio, and in the process I found really old artworks (watercolor paintings, color drawings, a billion sketches) and materials that were piling dust. Long story short, they made me remember how much I actually love creating images in a variety of media, and, after focusing for so long in digital composition, I found myself craving to be submerged in that old world again.
The creative process differs greatly from that of photo compositing (as people call it), because it’s less technical, less analytic, less slow, and more immediate. When you work with photo illustration, a great deal of it it’s based on cutting the parts you need of different photos, and composing something new (or on top of another photo) to have a result. When you draw or paint, a simple stroke with any media you choose is a composition that can work on its own.
There’s also more “flow”, because it’s a continuous creative movement that places you in a state of complete concentration. Don’t get me wrong, I absolutely love the digital works I’ve done so far and I’m not planning to give that up. Just broaden my spectrum I guess ;) From this technical dichotomy I ended up reading debates about artists as ‘creators’, or 'producers’ or merely 'translators’ of either some unknown, unseen force, or a deep psychological state that artists of all kinds go into when they’re in the process of creating. That other sense that goes alongside the feeling of accomplishment and flow. I’m not going to go deep into it because it’s an eternal debate, this blog post would be incredibly long and I’m not even entirely sure where I stand myself, but after a series of realizations and re-encounters with an old fascination for art, I decided to pay homage to that feeling, and keep it as a constant reminder, that without the fire that can get extinguished to easily, and a strong sense of curiosity and determination, all of this is meaningless.
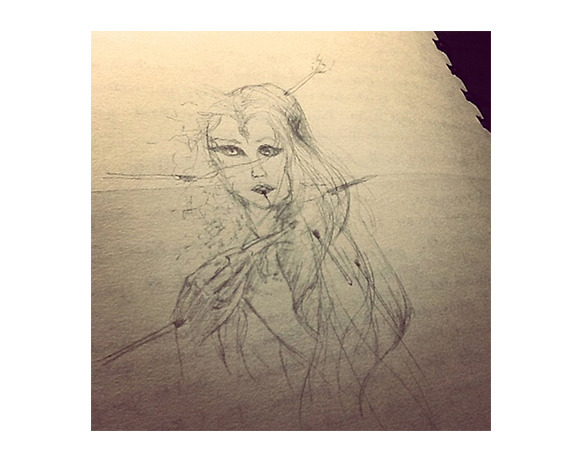
So anyway! As always I start sometimes with only just an idea that I start sketching fast. In this case, I came up with an easy composition that wouldn’t take much time, and would allow me to play with brushes and loosen up with the photographic composition part.
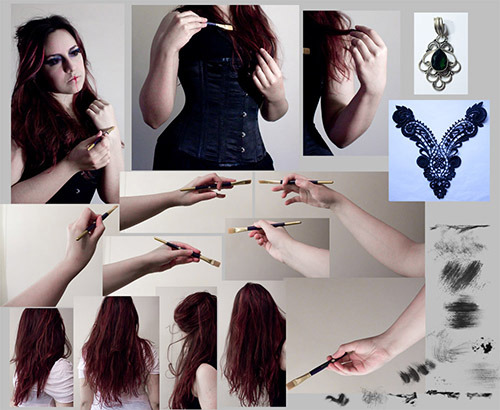
That part done, I went and took the stock photos. Though I appreciate to search on stock sites for things I just cannot possibly take a photo of (like I don’t know, an elephant for example), I do prefer to take my own stuff of everything I can, including, and specially the model, because sometimes the pose is so specific, that it would take me forever to look for a model in that same pose and I really don’t like to spend my time on that! I rather just use it to have fun with clothes, makeup, fabric pieces, and such. I even started making my own jewelry because it’s, well, cheaper, and more personalized. More on that later! (you’ll love it :D ). I just think it gives another, deeper dimension to an artwork, in technique and meaning, if an artist in photo composition takes its own photos; you can immediately tell.
They don’t need to be taken with a 6000 dollar camera, but a reflex camera gives you complete control over the settings. Also, a good light source that doesn’t have to be professional either. I like being resourceful. Oh, and I also converted to brushes a bunch of strokes I did some time ago but never played with until now!
Sketch was done, composition was planned, stock photos were taken, and now on to the good stuff.
As you can see first I took the unedited picture and just painted on top on another layer some strokes that tell me where the hair’s supposed to go. After that, I just kept that layer for reference, hid it, and started to cut the model the right way xD the best method I’ve found for selecting, is, whether you want to admit it or not, the pen tool! Yes it will stress you out the first times while you learn how to use it properly, but once you do, it will become your Photoshop’s new best friend. I draw with the pen tool, make a selection with a feather of 0 and then I go to Select>Refine edge. This option went through a beautiful transformation with CS6, but the essentials are the same. I never go above 0.5 in feather (I haaaate over feathered borders), very little radius, I contract some pixels from time to time when it’s needed, and I smooth it. Never overdo it. If the image demands more “refinement” on the edges, use the pen tool again because it’s probably badly selected. I swear it takes less time than any other option on PS and it’s way better.
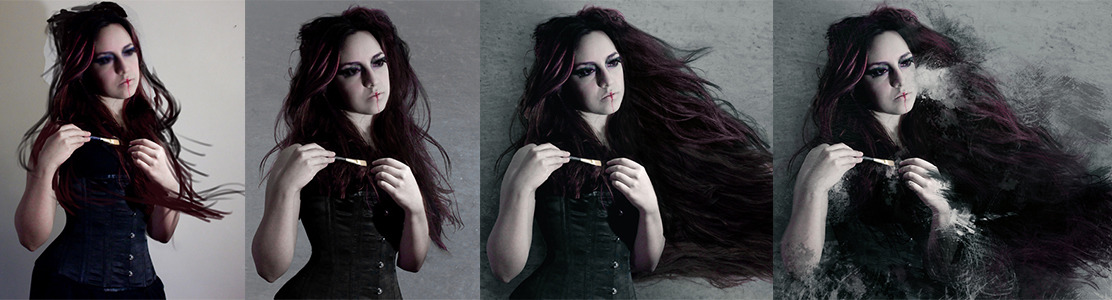
The hair is another subject that it’s worth a post blog on its own xD haha but anyways, in this case, if you see, I took a lot of photos of my hair (when it was still pretty cold bright red :’[ ) . It consists of A LOT of layers, because the top layer of a section of hair has the little strands of individual hair, and the lower layer is the solid part of the hair (that also contains the color. This technique is so much easier with black hair. Red hair is a pain even on photoshop! haha!). This way, I keep the messy-ness of the hair and keep it realistic (talk about irony). I of course painted strains of hair when this just wasn’t possible. Repeat this a billion times as needed to make the hairdo you want. The rest is just trial and error. I now had the hair and the movement I wanted that would work as a base for the craziness that went after. With my newly made brushes, I began stealing some color from some parts of the model and started painting to make her look as if she was vanishing away.
Once the basic movement and shape was done, I started cutting and adding the hands with the pencils. I placed them on top of the hair, while all the time correcting the color of the overall piece. Same old, same old, fixed lights, shadows, and started another fun part which was painting the hair that covered the hands.
More painting came after, and then I started playing with blurs to give everything more depth. Then more paint. And as a final thing; the sketch originally had some kind of head piece that I intended at first as hair, but I remembered I had this piece of lace I really really liked and hadn’t been yet transformed into a necklace. I placed it there with a little Diopside pendant I had which I actually based the initial sketch on.
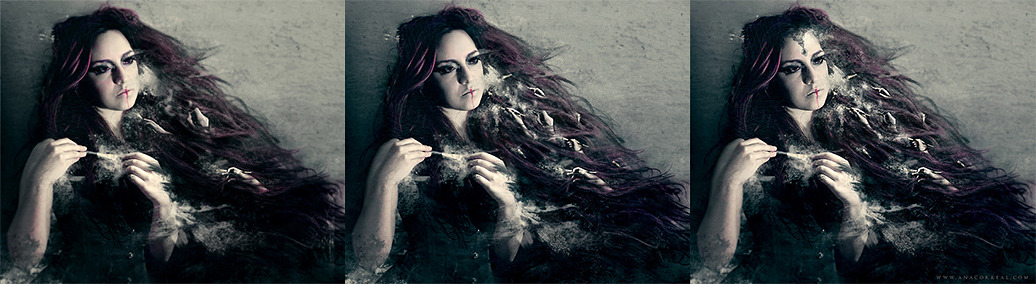
And here are some of my favourite details
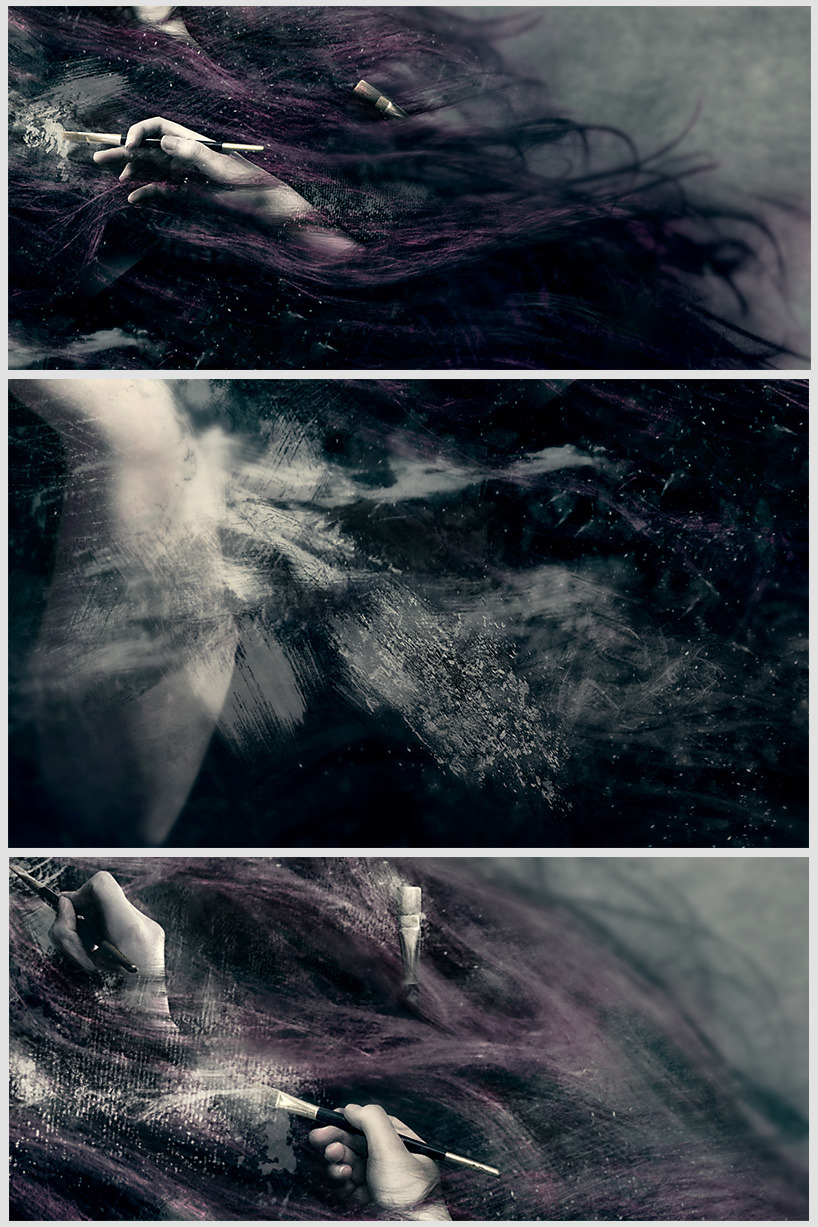
Hope you enjoyed this first artwork detailed post!
See you around,
Ana